 Support & Knowledge
 Updates
 Real Estate Blog
 Open Platform
 Affiliates
 MLS Coverage
How to build a real estate website in 8 clear steps. Learn how to plan, design, and launch a site that attracts leads and showcases your listings.
Branding & Design Technology
Building a real estate website is a structured process, wherein each step involves technical and design decisions that affect how the site functions and how users interact with it.
This guide outlines eight essential steps to help real estate professionals understand how a website is planned, built, and maintained. For those learning how to build a real estate website for the first time, this information explains the process clearly and directly.
1. Secure a Domain and Hosting for Your Real Estate Website
A domain name is the web address people type into their browser to visit your website, like “yournamehomes.com.” Think of it as your digital street address. Good domains are easy to spell, related to your real estate business, and match your brand.
When selecting a domain name:
- Keep it short and simple: Shorter domains like “DenverHomesNow.com” are easier to remember than long ones
- Include location: Adding your service area helps clarify where you work
- Avoid hyphens: These can create confusion and lead to typing errors
Website hosting is a service that stores your website files and makes them available online. It’s like renting space on a server that keeps your site accessible 24/7.
For real estate websites, look for hosting with:
- Fast loading speeds: Real estate sites use lots of images that can slow things down
- Security features: SSL certificates protect your visitors’ information
- Reliable support: Look for 24/7 help in case something goes wrong
Popular hosting options include SiteGround, Bluehost, and WP Engine, with plans starting around $5-15 per month.
2. Choose the Right Website Builder
Website builders let you create websites without knowing how to code. They include drag-and-drop editors, templates, and built-in features that make web development much easier.
There are two main types of website builders you could use:
- General-purpose builders like WordPress, Wix, and Squarespace
- Real estate-specific builders designed with features for property listings and lead capture
When comparing website builders, consider these factors:
| Builder | Real Estate Features | Ease of Use (1-5) | IDX Integration | Monthly Cost | Best For |
|---|---|---|---|---|---|
| WordPress | Customizable with plugins | 3 | Yes (via plugin) | $5-25 + add-ons | Those who want full control |
| Wix | Real estate templates | 4 | Limited | $16-45 | Beginners |
| Squarespace | Modern designs | 4 | Limited | $23-65 | Design-focused agents |
| AgentFire | IDX, area pages, lead tools | 5 | Full integration | From $119 | Agents wanting all-in-one solution |
The best choice depends on your technical comfort level, budget, and specific needs.
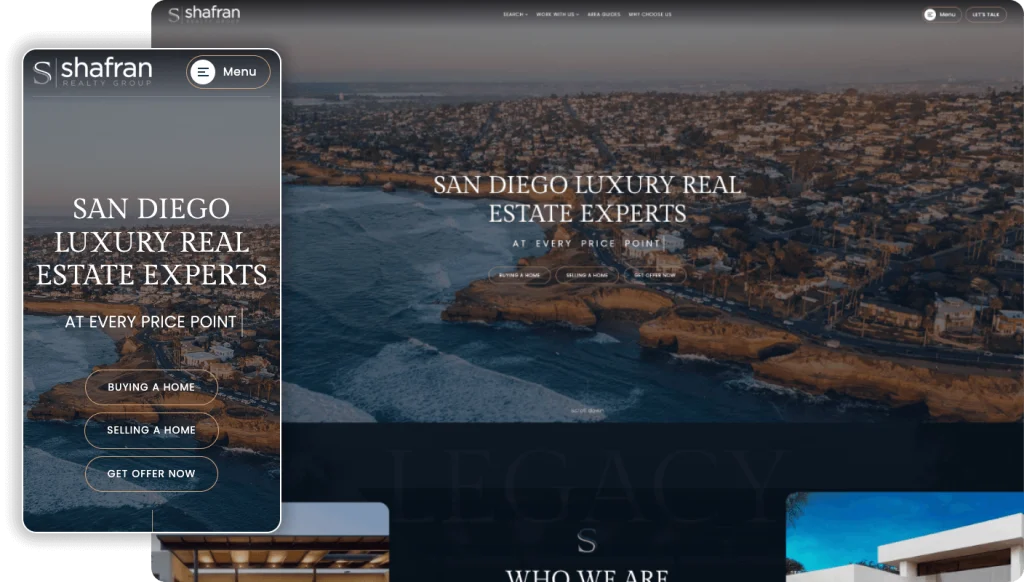
3. Design Your Real Estate Website
Good design builds trust with visitors and makes your site easy to use. Learn more about real estate website design best practices. A professional-looking site tells people you’re serious about your business.
When creating your website design:
- Choose a color scheme: Pick 2-3 main colors that match your brand and use them consistently
- Select fonts: Use no more than 2 font families (one for headings, one for body text)
- Add your logo: Place your logo in the top left corner where visitors expect to see it
- Keep navigation simple: Limit main menu items to 5-7 options
Mobile responsiveness is absolutely critical. Your site must work well on all devices, with:
- Text that’s easy to read without zooming
- Buttons large enough to tap with a finger
- Menus that adapt to smaller screens
- Forms that are easy to complete on mobile
Test your site on different devices before launching. If something is hard to use on your phone, fix it before going live.
4. Add Property Listings and Visuals
Property listings are the heart of your real estate website. They need to be clear, attractive, and easy to browse.
For effective property listings:
- Use professional photos: High-quality images make properties look their best
- Write clear descriptions: Focus on specific features and benefits of each home
- Include all key details: Bedrooms, bathrooms, square footage, lot size, year built
- Add virtual tours: 3D walkthroughs or video tours help buyers see more
- Organize by categories: Group listings by neighborhood, price range, or property type
Image optimization is important for keeping your site loading quickly:
- Resize large photos before uploading (1200-1500 pixels wide is usually enough)
- Compress images using tools like TinyPNG or ImageOptim
- Add descriptive alt text to help with accessibility and SEO
Well-organized, visually appealing listings encourage visitors to spend more time exploring your website.
5. Implement Essential Real Estate Website Features
Certain features are must-haves for any effective real estate website. These tools help visitors find properties and connect with you.
IDX Integration
IDX (Internet Data Exchange) connects your website to MLS listings. Add IDX to your website to let visitors search properties directly on your site instead of going to big portals like Zillow.
A good IDX search should include:
- Filters for price, bedrooms, bathrooms, and location
- Map-based search options
- Saved search capability
- New listing alerts
- Mobile-friendly results
Popular IDX providers include iHomefinder, IDX Broker, and Showcase IDX, with monthly costs ranging from $50-100.
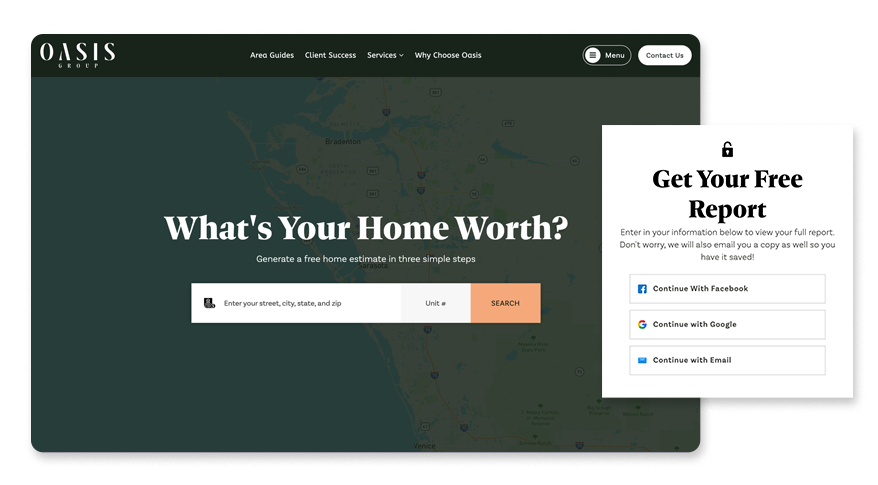
Lead Capture Forms
Strategic lead forms collect visitor information so you can follow up. Place these forms:
- On your homepage
- With property listings
- On neighborhood pages
- Within blog posts
- In your contact section
Effective forms offer something valuable in exchange for contact information, like:
- Home valuation reports
- Neighborhood guides
- First-time buyer checklists
- Market updates
- Early access to new listings
Keep forms short – name, email, and phone are usually enough to start a conversation.
Testimonials and Reviews
Client feedback builds trust with new visitors. Include testimonials that:
- Use real client names and photos when possible
- Mention specific results (sold in 5 days, found perfect home)
- Represent different types of clients (first-time buyers, luxury sellers)
- Include the neighborhood or transaction date for context
Display testimonials on your homepage and about page for maximum impact.
6. Optimize for Local Search
Local SEO for real estate helps people find your website when searching for real estate in your area. This increases visibility and leads.
Local Keywords and Content
Research keywords people use when looking for real estate in your market:
- “homes for sale in [city/neighborhood]”
- “real estate agent in [location]”
- “[location] housing market”
- “condos in [area]”
Create neighborhood pages for each area you serve. These pages should include:
- Area description and highlights
- Current listings in that neighborhood
- Local amenities (schools, parks, shopping)
- Market statistics
- Photos of the neighborhood
Set up and optimize your Google Business Profile:
- Claim your business listing
- Add your contact information and service areas
- Upload quality photos of you and your listings
- Collect and respond to reviews
- Post updates regularly
Blogging for Real Estate
Regular real estate blogging helps with search visibility and positions you as a local expert. Effective blog topics include:
- Market updates for your area
- Home buying and selling guides
- Neighborhood spotlights
- Local events and attractions
- Home improvement tips
When creating blog posts:
- Focus on local topics: Write about your specific market rather than general real estate
- Use clear headlines: Include location terms in your titles
- Add helpful images: Include photos of the areas you’re discussing
- Keep a schedule: Post consistently, even if it’s just once or twice a month
Each blog post creates another entry point for search engines to find your website.
7. Launch and Maintain Your Website
Launching your site is just the beginning. Regular maintenance keeps it working properly and up-to-date.
Create a maintenance checklist:
- Back up your website files and database weekly
- Update plugins, themes, and software when new versions release
- Check for broken links or missing images monthly
- Test contact forms to make sure they’re working
- Review and update content quarterly
Set up Google Analytics to track how people use your site:
- Monitor which pages get the most visits
- See where your traffic comes from
- Track how many leads your forms generate
- Identify which content performs best
Use this data to measure the ROI of your website and make informed decisions about what’s working and what needs improvement.
8. Grow Your Online Presence
Your website connects to your broader online marketing strategy. Use it as the hub for all your digital activities.
Connect your website to:
- Social media profiles
- Email marketing campaigns
- Online advertising
- Review platforms
When you post on social media or send emails, link back to relevant pages on your website. This creates a consistent experience for clients and helps build your online authority.
Remember that your website is always evolving. As your business grows, your online presence should grow with it. Regular updates and improvements keep your site fresh and effective at generating leads.
A well-designed real estate website serves as the foundation of your online marketing. It showcases your listings, demonstrates your expertise, and provides a way for potential clients to connect with you.
FAQ About Building Real Estate Websites
How much does it cost to build a real estate website?
A basic real estate website costs between $500-$1,000 initially plus $20-$150 monthly for hosting and maintenance, while custom solutions with IDX integration typically add to the initial cost plus ongoing fees.
What is the best platform for creating a real estate website?
The best platform depends on your technical comfort level. WordPress offers flexibility for those comfortable with technology, while specialized solutions like AgentFire provide industry-specific features without requiring technical expertise.
How long does it take to build a real estate website?
A basic real estate website using templates can launch in 1-2 weeks, while custom-designed sites typically take 4-8 weeks depending on complexity and feature requirements.
Do I need technical skills to create a real estate website?
You don’t need coding skills to create a real estate website as modern builders offer user-friendly interfaces, though basic computer literacy helps when managing content and updates.
How do I integrate MLS listings into my real estate website?
Integrate MLS listings by subscribing to an IDX provider, choosing a compatible website platform, installing the necessary plugin, and configuring search parameters to display listings properly.