Real estate photography tips to make listings stand out. Learn how to shoot, stage, and edit photos to attract more buyers.
Content Marketing Lead Generation Seller Tactics
Real estate photography plays a central role in how properties are marketed. Buyers often form their first impressions of a home based on the listing photos they see online.
In today’s real estate market, nearly all home searches begin online. High-quality images help listings stand out in crowded marketplaces.
The Impact of Real Estate Photography on Listings
Professional real estate photos increase listing views by up to 61%. This means more people click on and explore listings with quality images when browsing online.
Homes with high-quality images also sell faster. Listings with professional photography are 84% more likely to sell within the listing period compared to those with basic photos.
In terms of pricing, listings with professional photos can sell for thousands more than those with low-quality images. These price differences vary based on location and property type.
Did you know? Listings with professional photography sell for up to 47% more than homes with amateur photos.
Getting Ready: Preparing the Property and Equipment
Before taking any photos, you’ll need to prepare both the property and your equipment. This preparation stage is often what separates average listing photos from exceptional ones.
Clear the Clutter
Removing clutter helps focus attention on the home’s features rather than personal items. Before photographing a property:
- Remove personal photos and memorabilia
- Clear countertops of small appliances and items
- Put away shoes, coats, and bags from entryways
- Store toys, pet items, and laundry baskets
Less is more: A clean, simplified space helps potential buyers imagine themselves living in the home rather than focusing on the current owner’s belongings.
Stage Key Rooms
Simple staging can transform how a room photographs. You don’t need professional staging services or virtual staging solutions to make a big difference:
- Add fresh, neatly folded towels in bathrooms
- Place a few neutral pillows on beds and sofas
- Set a bowl of fruit or simple vase in the kitchen
- Straighten furniture and align rugs
For maximum impact, focus your staging efforts on the living room, kitchen, and primary bedroom – these are the spaces buyers care about most.
Check Your Camera and Lens
You don’t need expensive equipment to take good real estate photos. Many agents start with what they have:
- Smartphone cameras paired with good lighting
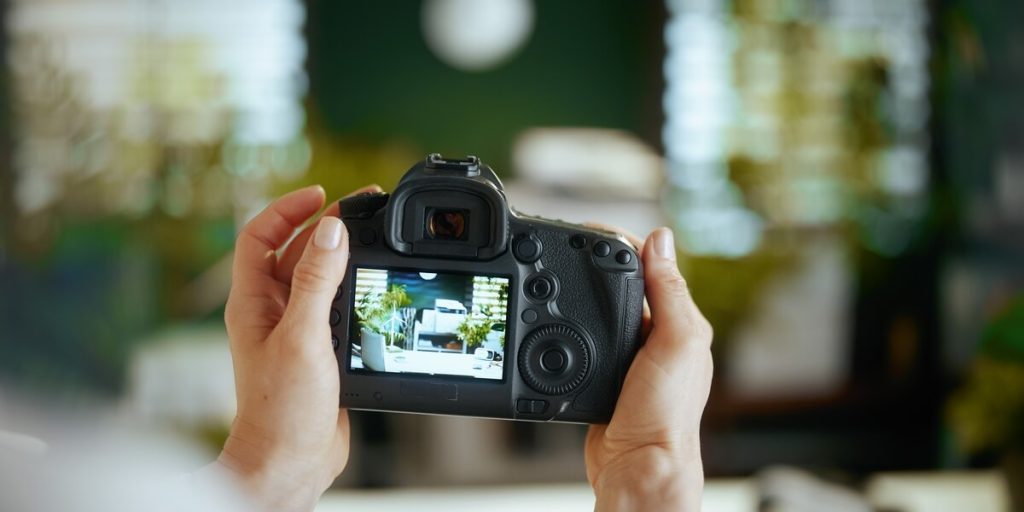
- DSLR or mirrorless cameras for more control
- Wide-angle lenses (16-24mm) capture more of each room
- Always bring extra batteries and memory cards
Best Times and Lighting for Real Estate Photos
Lighting can make or break real estate photography, as poor lighting can make even beautiful homes look dark and uninviting.
Choose the Ideal Time of Day
The “golden hour” – the first hour after sunrise or last hour before sunset – provides soft, flattering light for exterior shots. This light reduces harsh shadows and creates a warm glow.
Overcast days actually provide excellent conditions for exterior shots because the clouds diffuse sunlight, preventing harsh shadows and bright spots.
Use Natural Light Effectively
Inside the home, natural light creates the most appealing photos:
- Open all blinds and curtains completely
- Temporarily remove window screens if possible
- Turn on all interior lights for balance
- Position yourself so window light illuminates the room
Avoid backlighting: Don’t point your camera directly at windows unless you’re using HDR techniques or flash to balance the exposure.
Add Artificial Light When Needed
Sometimes natural light isn’t enough, especially in darker rooms or on gloomy days:
- Bounce flash off ceilings rather than firing directly
- Use LED panels for consistent, even lighting
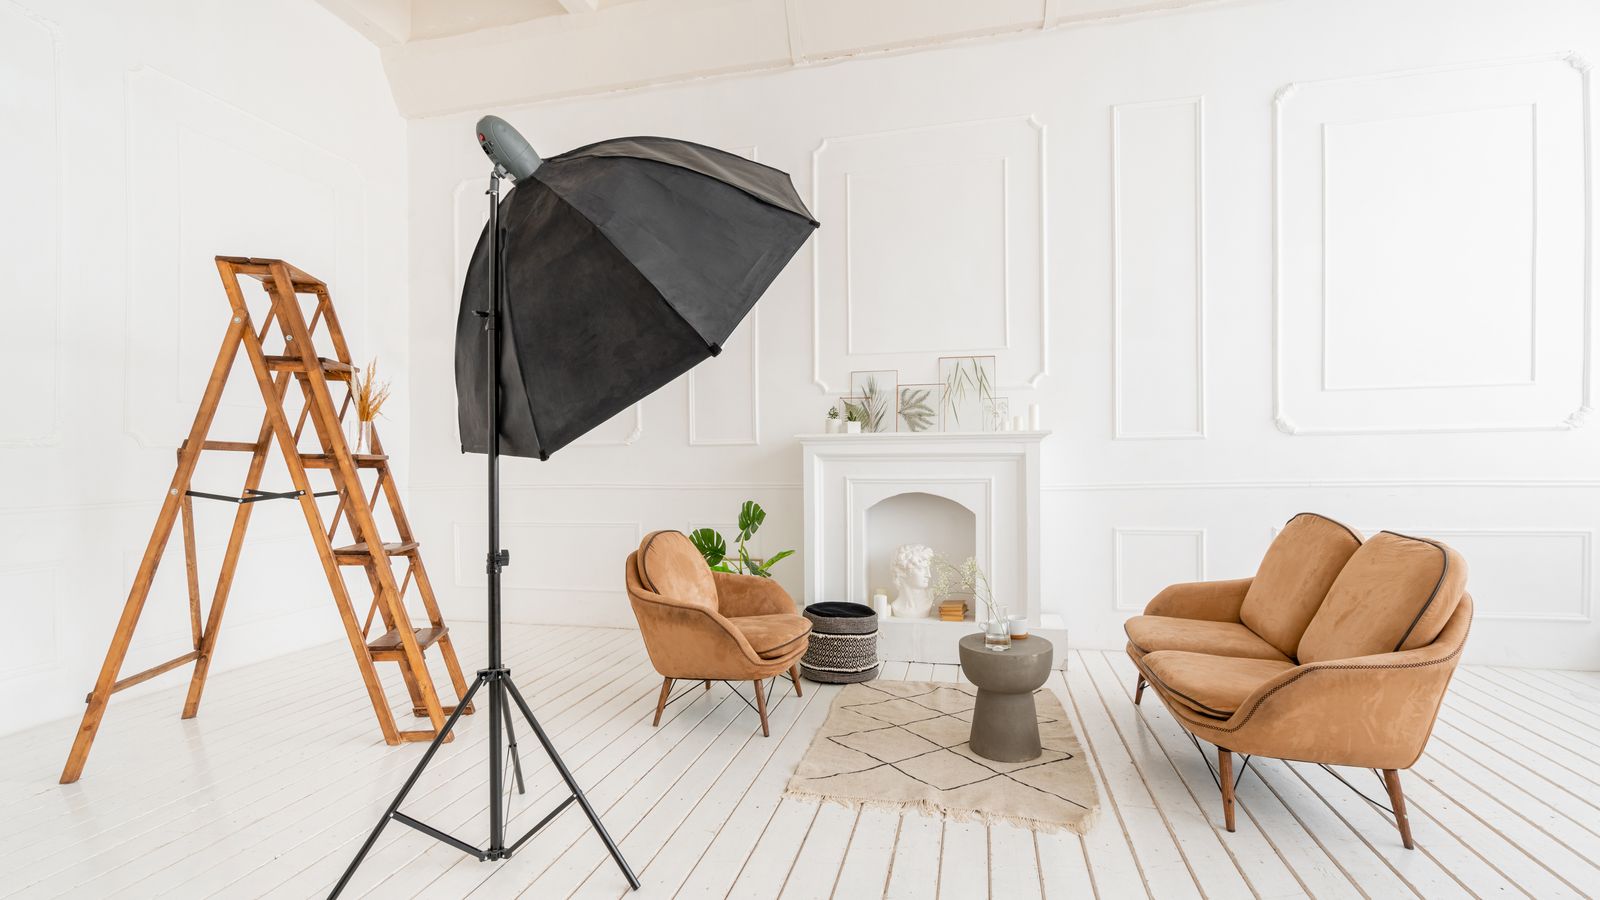
- Consider a simple three-point lighting setup for important rooms
Lighting checklist:
- Consistent temperature: Don’t mix daylight and tungsten lighting
- Even coverage: Eliminate dark corners and harsh shadows
- Balanced exposure: Maintain detail in both bright and dark areas
- Natural appearance: Lighting should enhance, not overpower
Must-Have Shots for Every Listing
Certain photos are essential for any real estate listing. Make sure to capture these key images for every property.
Exterior Front View
The front exterior shot is usually the first image buyers see. Capture it from a slight angle (not straight-on) to show depth and dimension.
Include landscaping, the driveway, and the walkway to provide context. Remove distractions like garbage bins, cars, or garden hoses before shooting.
Main Living Spaces
Photograph living rooms from the corners to maximize the sense of space. Show how rooms connect to each other when possible to demonstrate flow.
Highlight special features like fireplaces, built-ins, or architectural details. These unique elements often become selling points.
Kitchen and Dining Areas
The kitchen is often the most important room for buyers. Capture countertops, appliances, and any special features like islands or breakfast nooks.
For dining areas, include enough space to show table placement and size. This helps buyers visualize entertaining in the space.
Bedrooms and Bathrooms
Shoot from doorways or corners to make rooms appear spacious. Include windows and natural light sources in your composition when possible.
In bathrooms, highlight special features like double vanities, soaking tubs, or walk-in showers. Be careful of mirror reflections that might show you or your equipment.
Outdoor Living Areas
Backyard photos should showcase usable space and special features like patios, pools, or gardens. Shoot these areas during the best light – usually in the morning or late afternoon.
Basic Photography Techniques
These technical photography tips will help you capture clear, professional-looking images regardless of your equipment.
Use a Tripod
A tripod is essential for sharp, consistent photos:
- Stability: Eliminates camera shake in low light
- Consistency: Maintains the same height across rooms
- Alignment: Helps keep vertical lines straight
Set your tripod at about chest height (around 5 feet) for most interior shots. This provides a natural viewing perspective.
Optimize Camera Settings
Even with basic equipment, the right settings make a big difference:
- Aperture: Use f/8 to f/11 to keep everything in focus
- ISO: Keep as low as possible (100-400) to reduce noise
- White balance: Set manually based on lighting conditions
- Image format: Shoot in RAW if available for better editing flexibility
Frame Your Shots Carefully
How you compose each photo affects how spacious and inviting rooms appear:
- Shoot from corners to maximize perceived space
- Include doorways to show flow between rooms
- Keep vertical lines (walls, door frames) straight
- Use the rule of thirds to create balanced compositions
Composition tips:
- Show context: Include enough of each room to understand its purpose
- Highlight features: Position to showcase special elements
- Create depth: Include foreground, middle ground, and background
- Maintain proportion: Avoid distortion from extreme angles
Simple Editing Techniques
Even great photos usually need some adjustment. Basic editing helps photos look their best without misrepresenting the property.
Adjust Brightness and Color
Most photos benefit from these basic adjustments:
- Correct white balance so whites appear truly white
- Brighten shadows slightly to show details
- Lower highlights slightly if sunny spots are overexposed
- Increase contrast moderately for definition
Keep colors natural and realistic. Over-saturated photos look fake and can mislead buyers.
Fix Distortion and Alignment
Wide-angle lenses often create distortion, especially in small rooms. To fix this:
- Straighten vertical lines so walls don’t appear to lean
- Level horizontal lines for a balanced look
- Crop to remove unnecessary elements
Most editing software includes lens correction tools that can fix these issues automatically.
Enhance Without Misrepresenting
The goal of editing is to present the property accurately while showing it at its best:
- Do: Brighten dark corners, correct color casts, remove minor distractions
- Don’t: Change wall colors, add fake views, remove permanent features
Remember that photos should honestly represent what buyers will see when they visit in person.
Using Your Photos Effectively
Once you have great photos, use them strategically in your content promotion.
Website Presentation
Organize photos in a logical sequence that walks viewers through the home:
- Exterior front
- Entry/foyer
- Main living areas
- Kitchen
- Bedrooms
- Bathrooms
- Outdoor spaces
A well-designed real estate website like those created by AgentFire allows your photos to shine, creating an immersive experience that keeps potential buyers engaged longer.
Social Media Strategies
Different platforms have different photo requirements:
- Instagram: Square or vertical images work best
- Facebook: Horizontal photos display better in feeds
- Pinterest: Vertical images get more attention
Create themed collections for social sharing – kitchen features, outdoor spaces, architectural details – to target specific buyer interests.
Next Steps to Transform Your Listings
Improving your real estate photography doesn’t happen overnight, but you can start making changes immediately:
- Focus first on decluttering and basic staging
- Pay attention to lighting and time of day
- Use a tripod for stability and consistency
- Edit photos for brightness and clarity
- Present images in a logical, storytelling sequence
With practice, your listing photos will improve dramatically and help your properties stand out in a crowded market.
Ready to showcase your listings with a website designed to highlight your stunning photography? Book a Demo with AgentFire today to see how our real estate websites can help your property photos convert more leads.
Frequently Asked Questions About Real Estate Photography
Is virtual staging necessary for real estate photos?
Virtual staging typically costs $25-100 per room, making it significantly more affordable than physical staging while still providing impressive visual results. However, it isn’t always necessary, as there are simple ways to make the home appealing for your photos.
When should I hire a professional photographer?
Consider hiring a professional for luxury properties, homes with challenging lighting, or in competitive markets where image quality directly impacts perceived value.
What camera settings work best for interior photos?
Use aperture priority mode (f/8-f/11), ISO 400-800, and a tripod to capture sharp, well-exposed interior shots with good depth of field.
How can I make small rooms look larger in photos?
Use a wide-angle lens (16-24mm), shoot from doorways or corners, position the camera at chest height, and remove unnecessary furniture to create a sense of spaciousness.
How do I comply with regulations for drone photography?
Drone photography can be a great way to make your listing stand out, but you need to know some basic guidelines. The FAA requires a Part 107 certification for commercial drone use, which involves passing a knowledge test and registering your drone.


