 Support & Knowledge
 Updates
 Real Estate Blog
 Open Platform
 Affiliates
 MLS Coverage
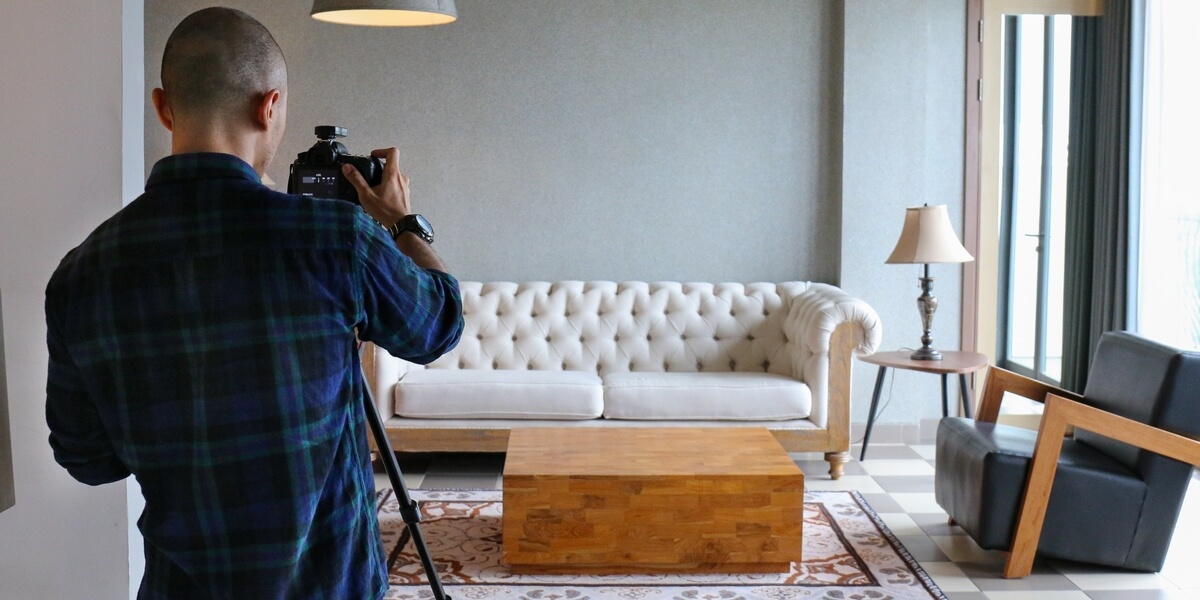
Even if you plan on hiring a photographer, knowing how to take great photos is essential to improve your real estate photos and attract more interest from buyers.
Buyer Tactics Seller Tactics
Real estate photography plays a big role in presenting properties to potential buyers. Eye-catching photos can greatly influence how quickly a property sells and the price it can command.
Even if you plan on hiring a photographer, knowing how to take great photos is still essential in helping you find a better professional. Understanding the basics will ensure you always create impressive visuals that highlight a property’s best features and attract more interest from buyers.
In this article, we’ll go over important aspects of real estate photography, including the equipment, lighting techniques, and effective staging strategies. Following these tips can help you improve your real estate photography and create images that impress potential buyers.
Key Types of Real Estate Photography Shots
In real estate, capturing the right types of shots is essential to make a property stand out and attract potential buyers. Each shot has a specific purpose, and understanding the differences can help you maximize your listing’s appeal. Let’s break down three essential types: exterior, interior, and detail shots.
Exterior Shots
Exterior photos are often the first thing potential buyers see, so they need to make a great impression. These images showcase the property’s curb appeal, including landscaping, architectural features, and overall setting. A good exterior shot highlights the home’s best angles and natural light, helping buyers envision themselves arriving home or entertaining guests in outdoor spaces.
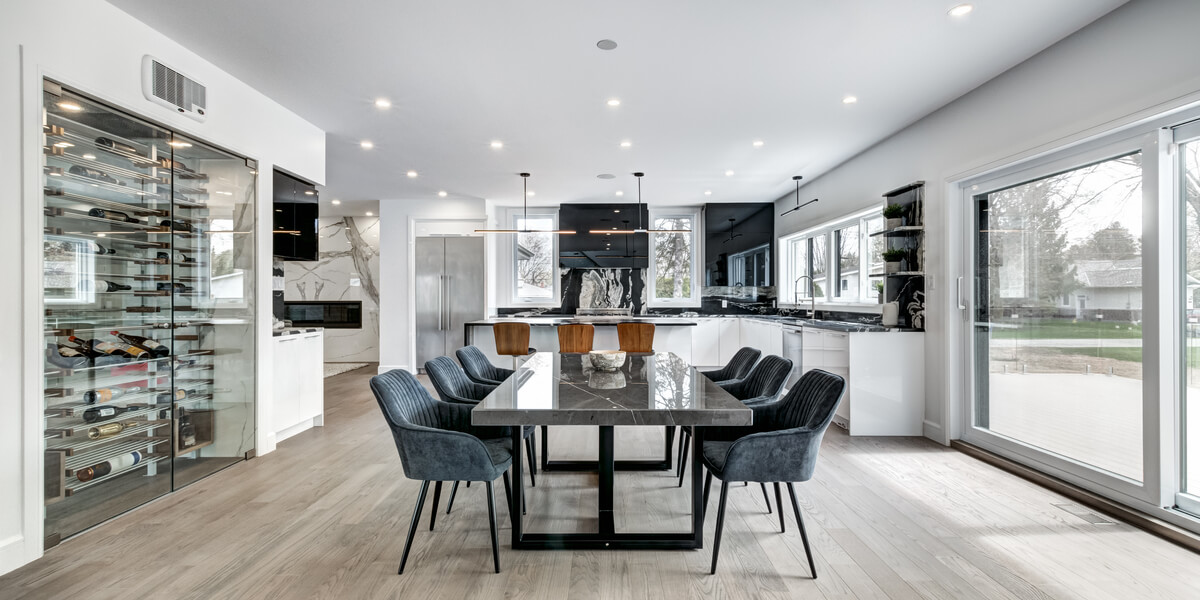
Interior Shots
Interior photography focuses on capturing the flow and layout of a home. These images are crucial for showing the size and functionality of each room. By using natural light, careful composition, and strategic angles, interior shots highlight the home’s key selling points—whether it’s an open-plan kitchen, a cozy living room, or a spacious master bedroom. The goal is to make the space feel welcoming and livable, drawing attention to features like high ceilings, large windows, or unique design elements.
Detail Shots
Detail shots zoom in on the finer aspects of the property that might otherwise be overlooked. These close-ups highlight special features such as high-end finishes, custom cabinetry, modern appliances, or luxurious materials like marble countertops and hardwood floors. By focusing on these unique elements, detail shots convey the quality and craftsmanship of the home, helping to justify a premium asking price.
Each type of shot plays a critical role in painting a full picture of the property, making sure potential buyers get an accurate sense of its beauty, functionality, and value.

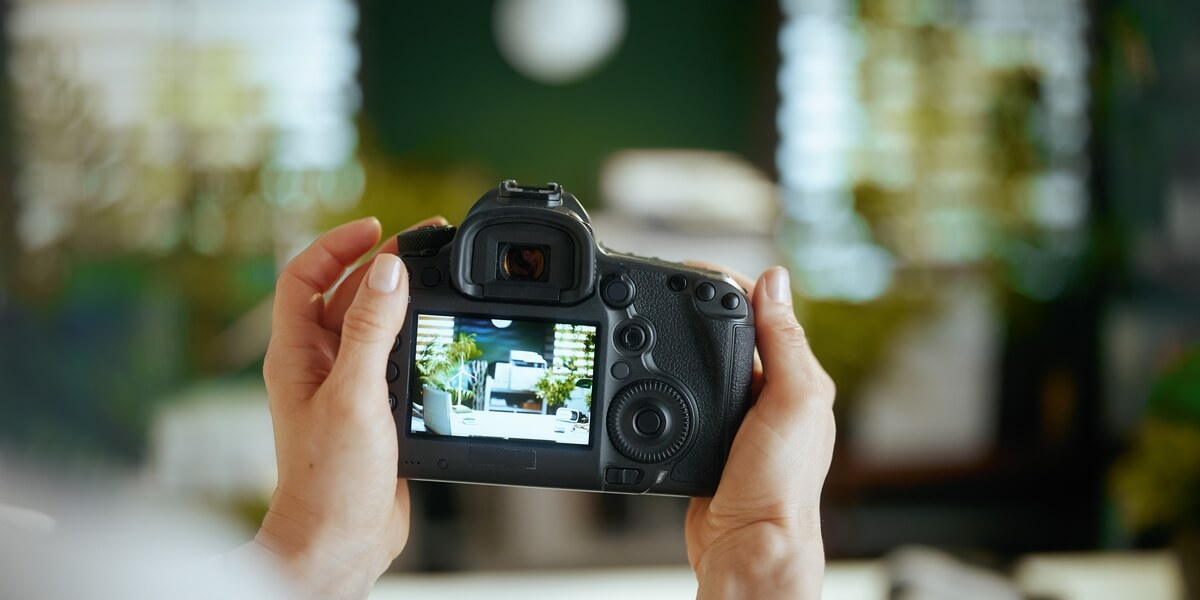
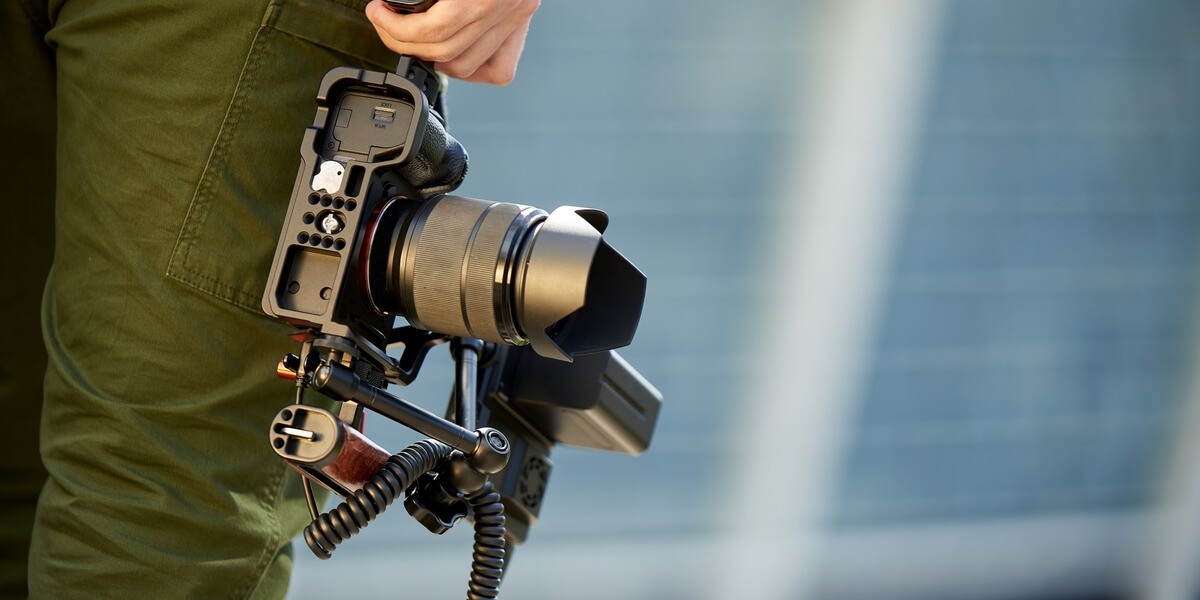
Understanding Photography Equipment
To take stunning real estate photos, having the right equipment is important. While decent photos are possible with a smartphone, professional-grade gear can greatly improve the quality of your images. Here are the key pieces of equipment for real estate photography:
Camera
A top-notch camera is the cornerstone of any successful real estate photography setup. Look for a camera with these features:
- Full-frame sensor for better low-light performance and a wider dynamic range
- High resolution (at least 24 megapixels) for sharp, detailed images
- Manual controls for adjusting settings like aperture, shutter speed, and ISO
- Interchangeable lenses for flexibility in different shooting situations
Popular camera choices include the Canon 5D Mark IV, Nikon D850, and Sony A7R IV.
Lenses
Having the right lenses is key for capturing wide-angle shots, close-up details, and everything in between. Consider investing in these lenses:
- Wide-angle lens (e.g., 16-35mm) for capturing spacious interiors and exteriors
- Standard zoom lens (e.g., 24-70mm) for versatility in various shooting situations
- Tilt-shift lens for correcting perspective distortion and keeping vertical lines straight
Tripod
A sturdy tripod is essential for real estate photography, as it keeps your camera steady and eliminates camera shake, resulting in sharper images. Look for a tripod with these features:
- Adjustable height for capturing shots from different angles
- Sturdy construction to minimize vibrations and ensure stability
- Quick-release plate for easy camera attachment and removal
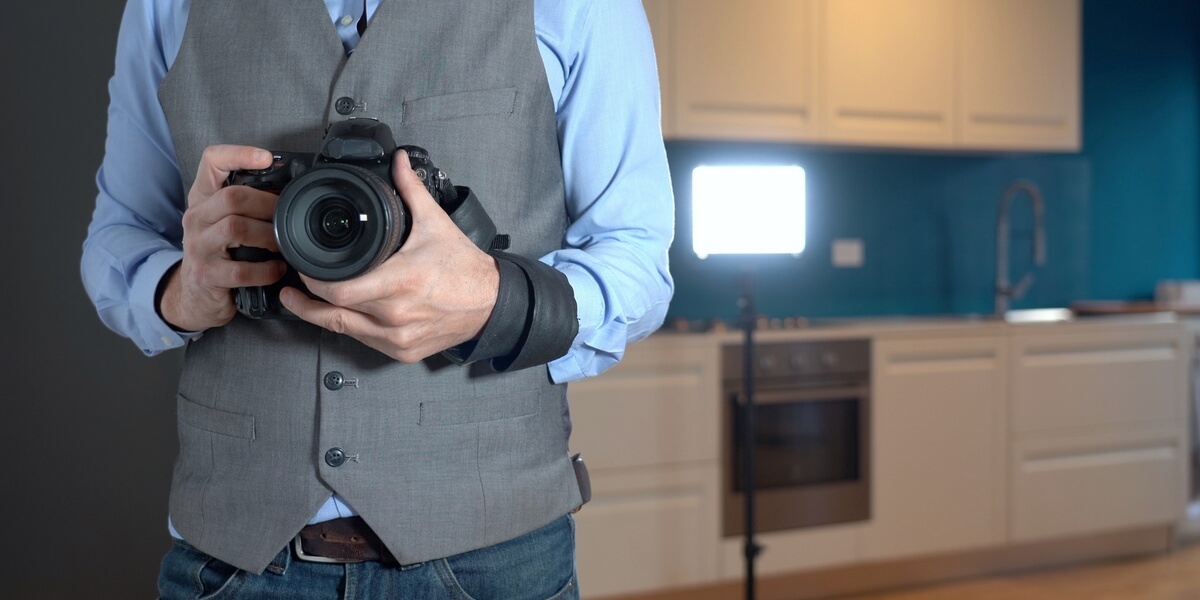
Lighting Equipment
While natural light is often preferred, additional lighting equipment can help you create consistent and flattering results, especially in low-light situations. Consider investing in:
- External flash for filling in shadows and adding depth to your images
- Continuous LED lights for providing a constant, adjustable light source
- Light stands and modifiers (e.g., softboxes, umbrellas) for shaping and diffusing light
Remote Shutter Release
A remote shutter release lets you trigger your camera without touching it, minimizing camera shake and ensuring sharper images. This is especially useful for long exposures or low-light conditions.
Having these key pieces of equipment will prepare you to capture stunning real estate photos that showcase properties in their best light.
Mastering Real Estate Photography Lighting
Lighting is a major factor in real estate photography, as it can make or break the look of your images. Good lighting creates a warm, inviting atmosphere that highlights the best features of a property, while poor lighting can make spaces look dull and unappealing. Here are some tips for mastering lighting:
Utilize Natural Light
Whenever possible, use natural light for your shots. It provides soft, even illumination that makes spaces feel more open and inviting. To make the most of natural light:
- Schedule shoots during the golden hours (just after sunrise or before sunset) for the most flattering light
- Open curtains and blinds to let in as much natural light as possible
- Use reflectors to bounce light into shadowed areas and fill in dark corners
Supplement with Artificial Light
Sometimes, natural light alone isn’t enough to properly illuminate a space. Artificial lighting can help. Here are some tips for using it effectively:
- Use a combination of continuous LED lights and external flashes to create balanced, natural-looking light
- Bounce light off walls and ceilings to soften shadows and make illumination more even
- Use light modifiers like softboxes and umbrellas to diffuse and shape the light
Avoid Mixed Lighting
Dealing with mixed lighting sources, such as natural light and artificial light with different color temperatures, can be challenging. To avoid this issue:
- Turn off any artificial lights that may clash with the natural light in the room
- Use gels to balance the color temperature of your artificial lights with the natural light
- Shoot in RAW format for more flexibility in adjusting white balance and color temperature during editing
Pay Attention to Shadows
While shadows can add depth to your images, harsh shadows can be distracting. To minimize them:
- Position your lights to fill in shadows and create more even illumination
- Use reflectors to bounce light into shadowed areas
- Adjust your camera settings to balance the exposure and reduce harsh shadows
By mastering these lighting techniques, you can create real estate photos that are well-lit, inviting, and showcase properties beautifully. Don’t hesitate to experiment with different setups to find what works best for each space.

Effective Staging for Real Estate Photography
Staging is a key part of real estate photography that can greatly influence how buyers view a property. Creating a clean, organized, and inviting atmosphere helps buyers picture themselves living in the space and highlights the property’s best features. Here are some elements of effective staging:
Decluttering and Cleaning
Before photographing, ensure each room is clutter-free and clean. This involves:
- Removing Distractions: Clear away personal items like family photos, toiletries, and refrigerator magnets to create a neutral space.
- Organizing Surfaces: Keep countertops, tables, and other surfaces tidy.
- Deep Cleaning: Ensure all areas, including windows, mirrors, and floors, are spotless.
A pristine environment allows potential buyers to focus on the property’s features.
Furniture Arrangement
Proper furniture arrangement can enhance the perceived size and flow of a room. When staging for photography:
- Maximize Space: Arrange furniture to create an open, spacious feel.
- Highlight Features: Use furniture to draw attention to focal points like fireplaces or large windows.
- Avoid Overcrowding: Remove excess furniture to allow plenty of open space.
Thoughtful furniture placement helps buyers visualize the room’s possibilities.
Adding Decor
While personal items should be minimized, tasteful decor can make a space feel more inviting. When selecting decor:
- Complement the Room: Choose decor that matches the room’s style and color palette.
- Introduce Texture and Color: Use items like throw pillows or artwork to add visual interest.
- Keep It Simple: Avoid clutter; a few well-chosen pieces can make a big impact.
Strategically placed decor can enhance the emotional appeal of a space, helping buyers imagine themselves living there.
By focusing on decluttering, furniture arrangement, and decor, you can create photos that showcase properties beautifully and attract potential buyers.
Composition Techniques in Real Estate Photography
Composition is another important aspect of real estate photography, shaping how viewers perceive a property. By using tried-and-true techniques, you can create visually appealing images that highlight a property’s best features. Here are some techniques to consider:
Rule of Thirds
The rule of thirds involves splitting the frame into a 3×3 grid and aligning key elements along these lines or their intersections. When used in photography:
- Create Balance: Align the horizon with the top or bottom third of the grid to balance the image.
- Draw Attention: Position significant elements, like a fireplace or a scenic view, at the grid intersections.
Applying the rule of thirds results in more engaging compositions.
Angles and Perspectives
Choosing the right angles and perspectives enhances the visual appeal and realism of property photos. When determining the best angles:
- Enhance Space: Use a wide-angle lens from a corner to capture the room’s breadth.
- Showcase Features: Explore various angles to highlight unique aspects like vaulted ceilings.
- Keep Lines Straight: Maintain a level camera to ensure that vertical lines remain straight.
Thoughtful angle and perspective choices help represent the property accurately.
Framing and Leading Lines
Framing and leading lines are powerful tools that can direct the viewer’s focus. To use these techniques effectively:
- Use Natural Frames: Utilize elements such as doorways or windows to frame the main subject.
- Guide the Viewer: Apply linear elements, like hallways, to lead the viewer’s gaze.
- Highlight Details: Frame distinctive features to underline the property’s character.
Incorporating framing and leading lines results in more captivating images.
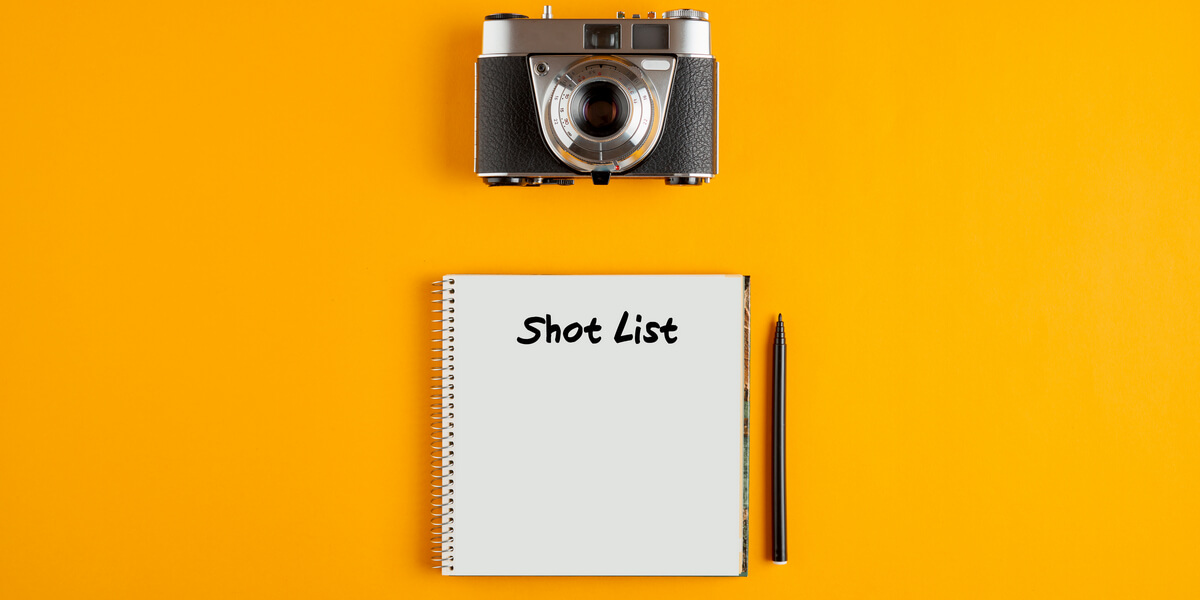
Creating a Real Estate Photography Shot List
A well-planned shot list ensures you capture all the necessary images during a photography shoot. By creating a thorough shot list, you can streamline your workflow and ensure a consistent result. Here are some key elements to include:
Exterior Shots
Exterior shots are crucial for showcasing a property’s curb appeal. When planning your shots, consider:
- Wide Shots: Capture the entire front and back of the property.
- Detail Shots: Highlight key exterior features, like a grand entrance.
- Twilight Shots: Consider capturing the property at dusk to showcase any exterior lighting.
Interior Shots
Interior shots give potential buyers a sense of the property’s layout. When creating your shot list, include:
- Wide Shots: Capture the main living areas from multiple angles.
- Detail Shots: Highlight unique features like high-end appliances.
- Lifestyle Shots: Stage the property to create inviting shots.
Aerial Shots
If the property has stunning views, consider including aerial shots. Aerial photography can:
- Showcase the Setting: Capture the property’s location and surrounding landscape.
- Highlight Outdoor Features: Showcase pools or other amenities.
- Provide Scale: Offer a bird’s eye view of the property.
By creating a comprehensive shot list, you can ensure you capture all the necessary images to showcase the property effectively.
Real Estate Photo Editing Tips
Editing your photos can enhance them, making them more visually appealing. It’s important to strike a balance between enhancing image quality and keeping a realistic appearance.
When it comes to editing software, Adobe Lightroom and Photoshop are popular choices. But there are also great free alternatives out there like Photoshop Express or Raw Therapee.
Here are some key adjustments to consider during post-processing:
- Exposure and White Balance: Adjust exposure and tweak the white balance to reflect the property’s true colors.
- Color Correction: Enhance saturation and vibrance moderately for a natural look.
- Perspective Correction: Use tools to straighten lines and ensure accurate representation.
- Shadow and Highlight Recovery: Bring out details in shadows and tone down highlights.
- Sharpening and Noise Reduction: Apply subtle sharpening and reduce noise for a clean look.
When editing, keep adjustments subtle and realistic. The goal is to present the property in the best light while maintaining honesty.

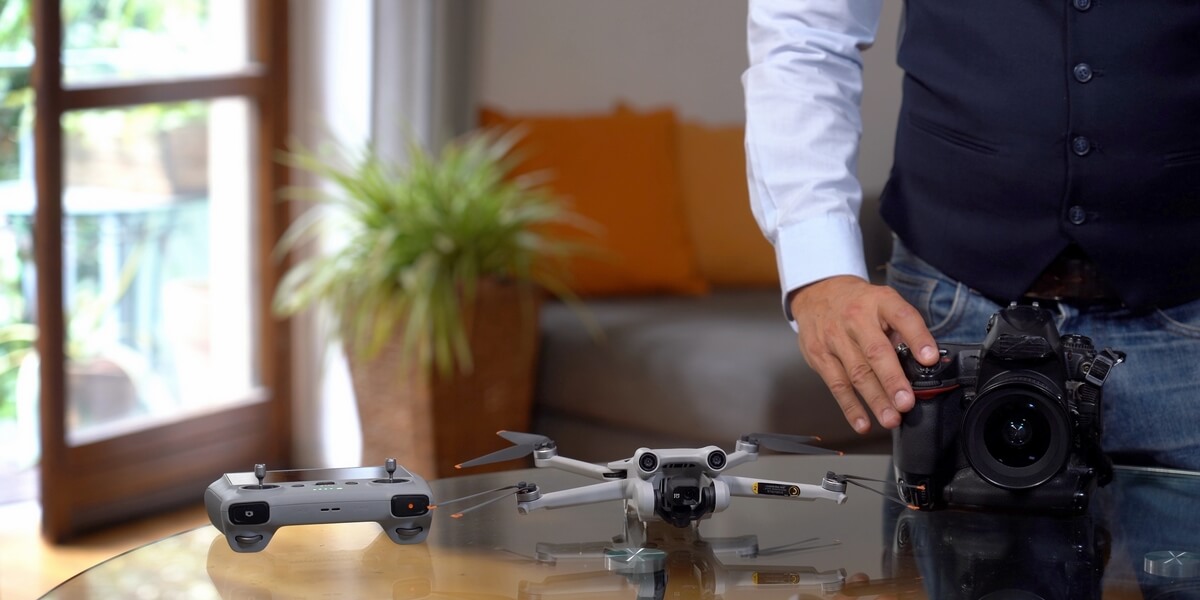
Using Drones for Real Estate Photography
Using drones for real estate photography offers unique angles. Aerial shots can give a complete view of a property’s layout and surroundings.
Before you start, it’s important to know and follow local regulations. In the U.S., while smaller drones like the DJI Mini often do not require a license, the FAA does often require drone operators to get a Remote Pilot Certificate for most larger drones. Make sure you’re familiar with these guidelines before using a drone for commercial purposes.
To get the best aerial photos, keep these tips in mind:
- Plan Your Flight Path: Check out the property and plan your flight path to get all the shots you need.
- Choose Optimal Lighting: Early morning or late afternoon light can reduce harsh shadows.
- Vary Your Angles and Altitudes: Try different angles and heights for visual interest.
- Use Intelligent Flight Modes: Many drones have modes like orbit flying to help capture smooth footage.
Using drone photography can give potential buyers a unique view of the property.

Common Mistakes to Avoid in Real Estate Photography
Taking great real estate photos isn’t just about mastering techniques; it’s also about knowing what to avoid. Steering clear of common pitfalls can help you consistently showcase properties effectively.
Improper Lighting
A frequent misstep is poor lighting management. Photos that are too bright or too dark can make a property look unattractive. To prevent this, adjust your lighting setup with tools like softboxes for balanced exposure. Shooting during the golden hour can also provide flattering light.
Cluttered Compositions
Another common mistake is cluttered shots. A messy image can distract viewers. Before taking photos, make sure the space is tidy. When framing your shots, use techniques like leading lines to guide the viewer’s eye.
Inaccurate Representation
While it’s important to present a property in the best light, avoid misrepresenting its features. Over-editing can lead to disappointed buyers. Aim to capture the property’s unique characteristics accurately.
Being mindful of these common mistakes can help you create photos that are visually appealing and truthful representations of the property.
Building Your Knowledge or Skills
Whether you decide to capture your properties yourself or hire a professional to do it for you, improving your skills takes practice. Learn from both your successes and mistakes when developing composition, lighting, and staging, of the images you create.
Try to make visuals that tell a story, helping buyers picture themselves living in the space. This means paying attention to details, making thoughtful choices, and always looking for ways to improve your techniques.
If you’re ready to take your listings to the next level, we’re here to help. Our team of experts is dedicated to creating stunning, high-performing websites that can expertly showcase your listings and drive growth for your business. Book a demo with us today and discover how we can help you stand out in a crowded market and connect with your ideal clients.

5 Ways to Promote Your Open House in 2024
Hosting an open house is a time-tested method for drawing potential buyers to a property, but it takes more than putting a sign on the lawn to make on…