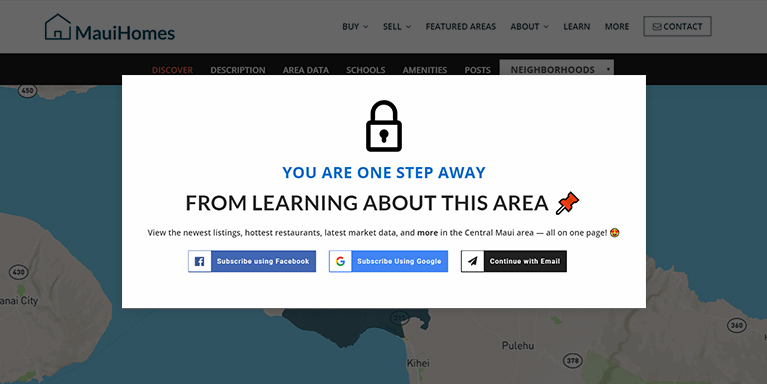
Using the 'Social Site Lock' CTA - you can lock down your most valuable website content, requiring your visitors to opt-in via Facebook, Google, or traditional email methods to gain access. End result? Your visitors get value, and you get a lead. Let's show you how!
Lead Generation Technology
One of our favorite ways to generate leads with our AgentFire Sites is the Social Site Lock CTA, which lets you turn any page on your website into a lead capture page — in just a couple of clicks.
In today’s article, we’re going to show you how to use the Social Site Lock CTA to turn your pages into lead generation machines like this: ?

More specifically, you’re going to learn how to:
- Create a Social Site Lock CTA using Engage CTA…
- Customize it based on how you’re going to be using it, and…
- Target it to the page (or pages) that you want the CTA to capture leads on.
The Social Site Lock CTA kindly asks users to give you their lead information via Facebook, Google, or traditional email opt-in options — in exchange for the content that they’re trying to access.
A Site Lock CTA can be a double-edged sword. Used correctly, visitors will happily hand over their information.
But if done wrong, your Site Lock CTA will just look like an annoying popup.
So let’s go over everything you’ll need to make sure your Social Site Lock CTA is used correctly. ?
What You’ll Need to Make it Happen
The 2 things you’ll need to pull this off:
- Create a Social Site Lock CTA with the ‘Engage CTA’ feature that comes with your AgentFire Site.
- Useful content to lock.
And even if you don’t have a AgentFire Site, you can still recreate this lead generation method on your own with a little help from Google.
Let’s get into it! ?
Engage CTA and AreaGuides
We’ll be using two AgentFire Site features: a Social Site Lock CTA courtesy of the ‘Engage CTA’ feature, as well as a city page, courtesy of the ‘Area Guides’ feature.
(If you’re not familiar with Engage yet, check out this overview video.)
Engage CTA is a Call to Action (CTA) feature that makes it simple to create and implement conversational-based CTAs on your website.
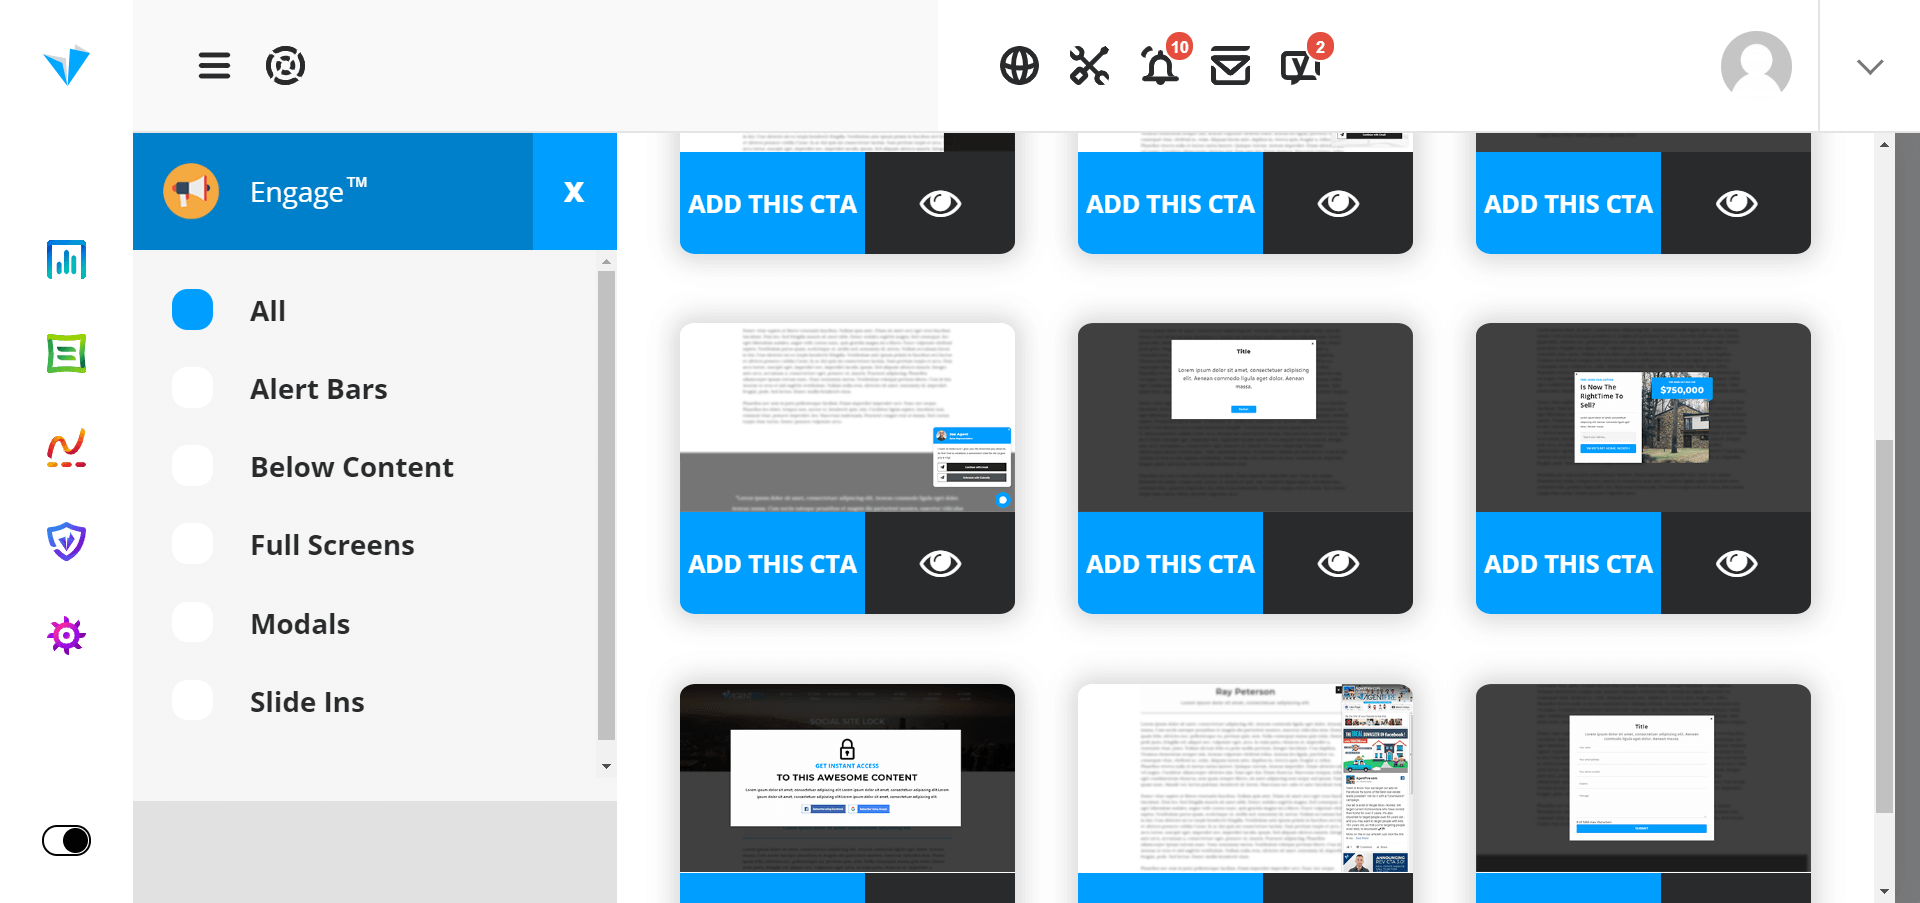
Social Site Lock CTAs are great for a variety of uses — one of our favorites is to use it in combination with hyperlocal area pages — courtesy of Area Guides.
Area Guides compile useful information about specific cities and neighborhoods, then displays it all in one place.
(If you’re not familiar with Area Guides, then check out this overview video.)
So, in a nutshell, the Area Guide pages on your site are loaded with tons of valuable information that your visitors won’t find on Zillow or other competing real estate agent websites.
This makes them high-value, and thus perfect to ‘lock down’ so that visitors are encouraged to give you their contact information in exchange for the valuable information on the other side… make sense?
In other words, we’re putting a lock ? on your high-value content, and your visitors will have the key ?️ — their contact information.
Your AgentFire Site makes this entire process reeeaally easy, which is great. Just don’t overdo it, because if you lock easy-to-find information, people will leave your website and head to Google.
Now that you’ve got some context…
Let’s set this all up!
Setting Up a Social Site Lock with Engage CTA
Quick heads up, I’ll be using our demo site for this article. You’ll want to have your city page created before setting up your Social Site Lock CTA.
It’s not mandatory, just a whole lot easier. ?
BTW, here is the area page that we’re going to be locking down in case you want to check that out to see the final result.
1. Select a Hyperlocal Area Page
First things first, pick the area page on your website that you want to start generating leads in.
By creating CTAs for your individual areas, you’ll be able to create custom messaging that’s targeted to the specific area page, which will boost conversion rates. ?
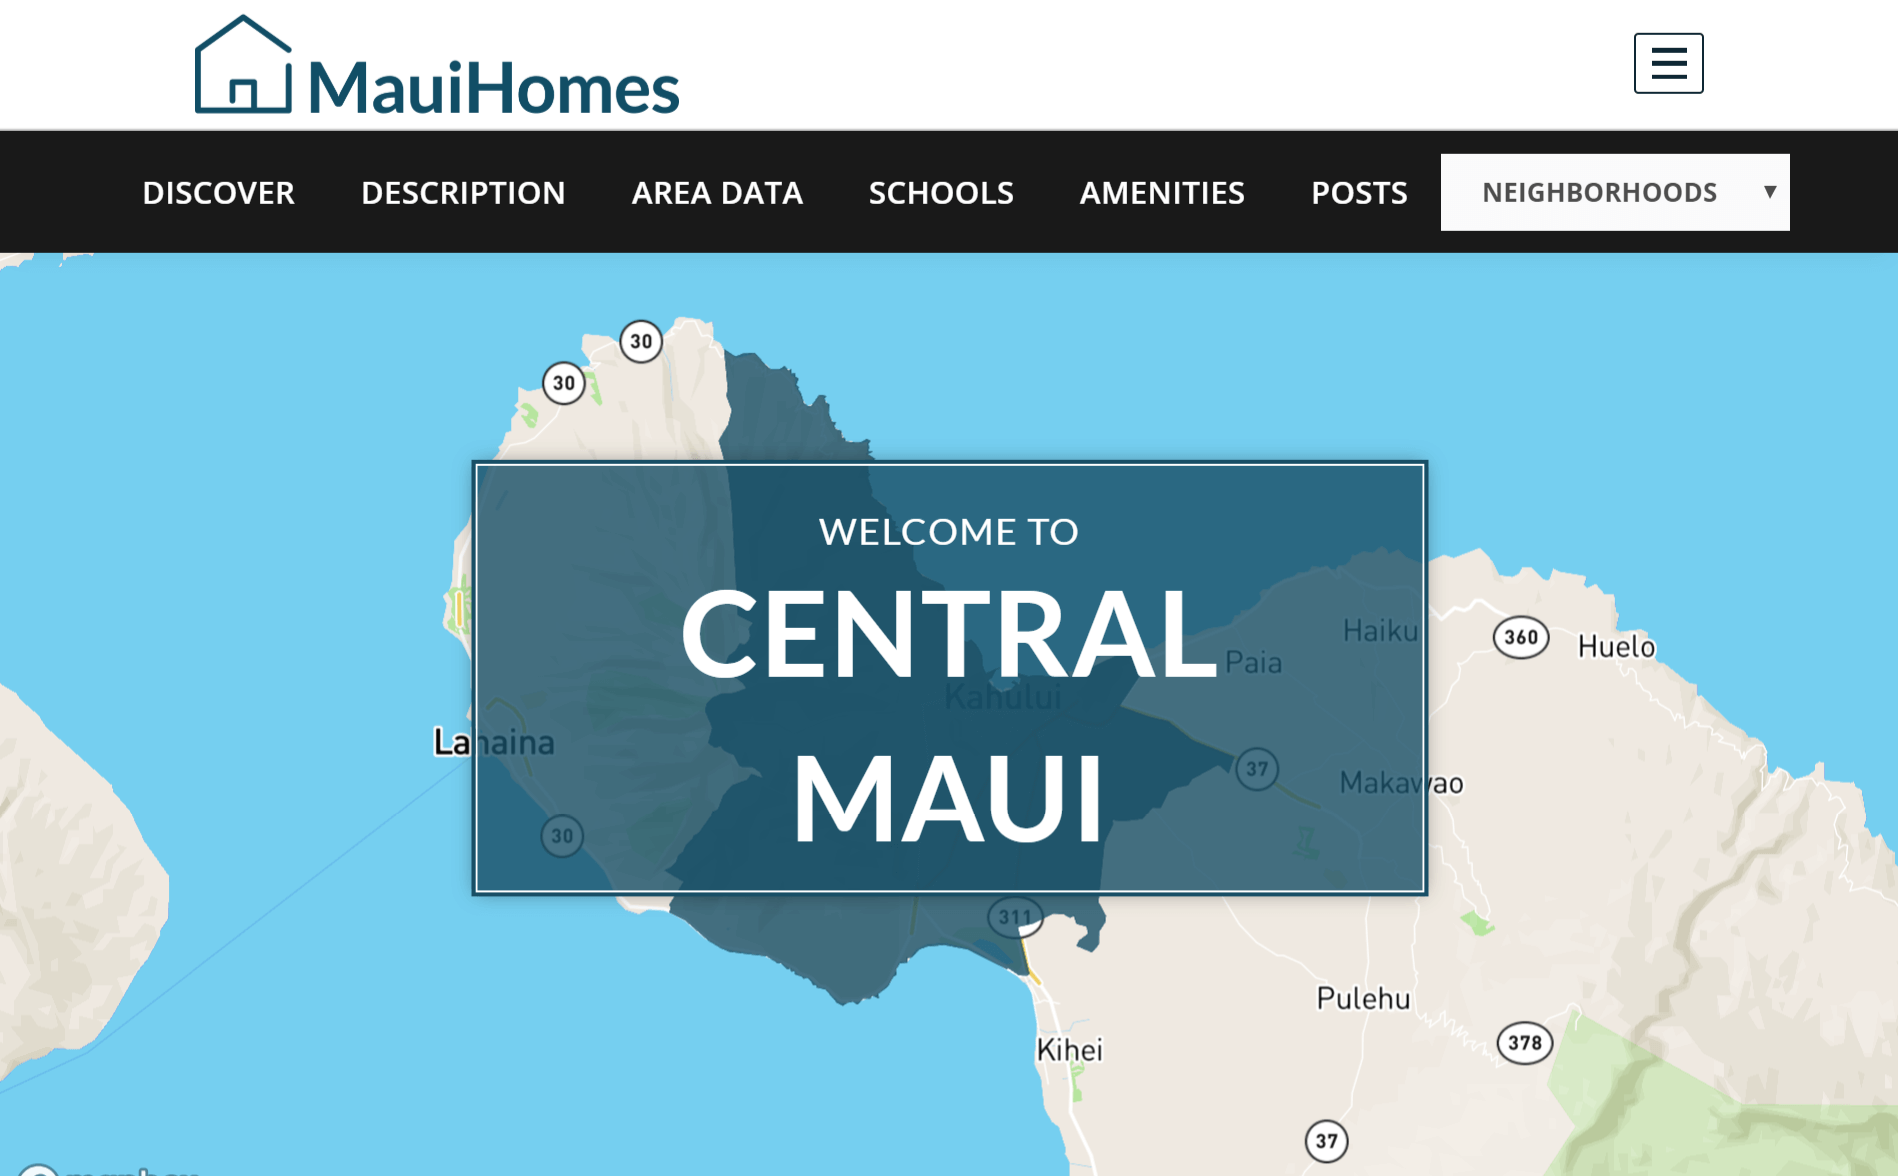
I chose the Central Maui area page on our demo site for this example:
2. Create a Social Site Lock CTA
Once you’ve chosen your area page, it’s time to create a Social Site Lock CTA, and target it to that page.
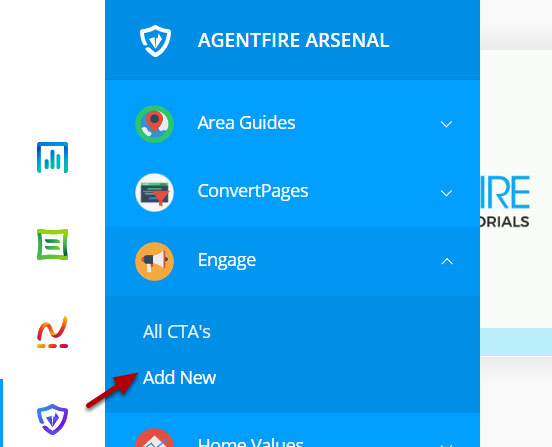
- Head over to your AgentFire Site Dashboard, and from there go to AgentFire Arsenal > Engage > Add New
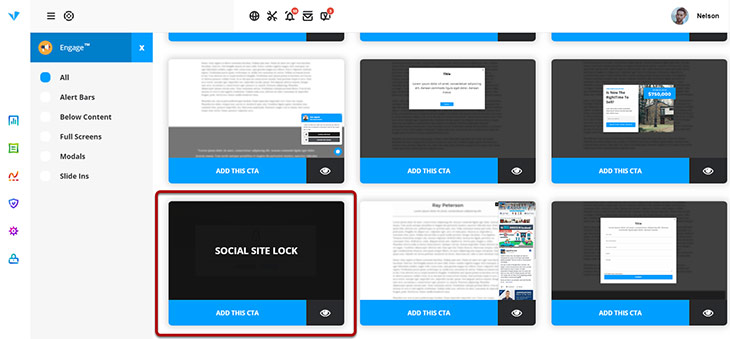
- Scroll down until you find the Social Site Lock, then click Add This CTA.
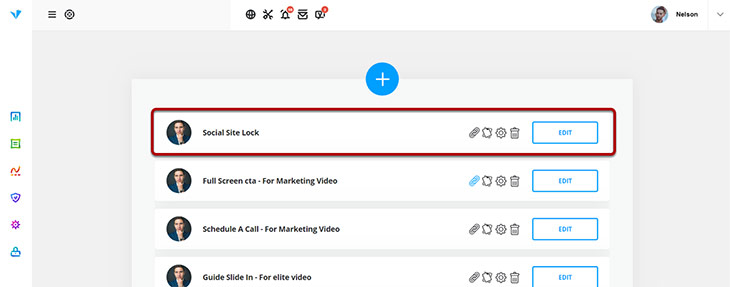
Once you’ve done that, you’ll be redirected back to the All CTAs screen, and your new Social Site Lock will be at the top of the list.
Now it’s time to customize your Social Site Lock CTA.
- Click the blue Edit button on the right-hand side of your new CTA.
You’ll be taken to the glorious AF Editor, which allows you to preview your edits in real time, on the same page.
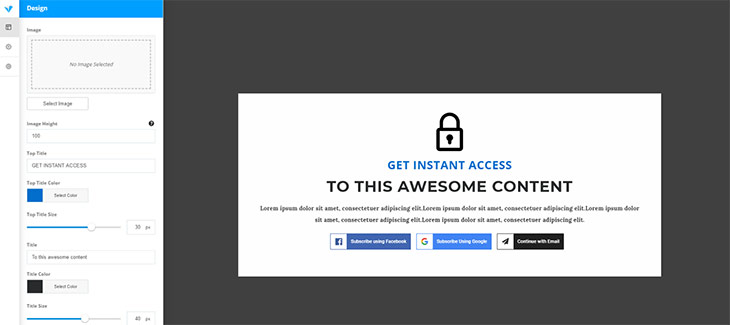
Make sure that your message in the lock window communicates the value that the visitor will receive after they unlock your content.
Your message should also be specifically written for your chosen hyperlocal area as I’ve done below.
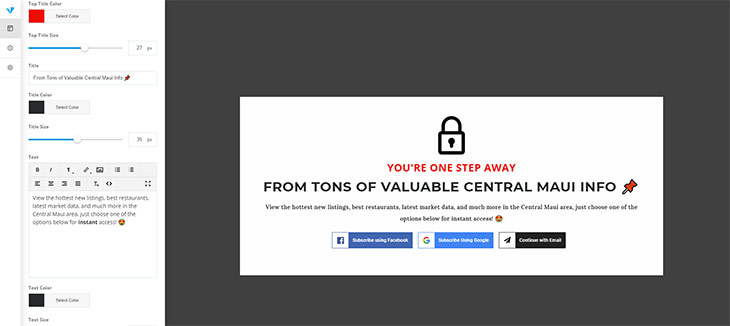
In other words, this is your chance to optimize conversion rates with sound, relevant copywriting.
- Once you’re finished, click the ✔ Check Mark on the bottom left-hand side of the page to save your work.
- Then click the Gray X button to close the CTA editor.
3. Target Your Social Site Lock to your City Page
Now that you have your CTA created, all that’s left is targeting it to your chosen city page.
- Find your new Social Site Lock, then click Settings (cog icon)
![]()
- Click the blue Plus Button, then select City from the drop-down menu.

- Select the area page of the city you chose in Step #1
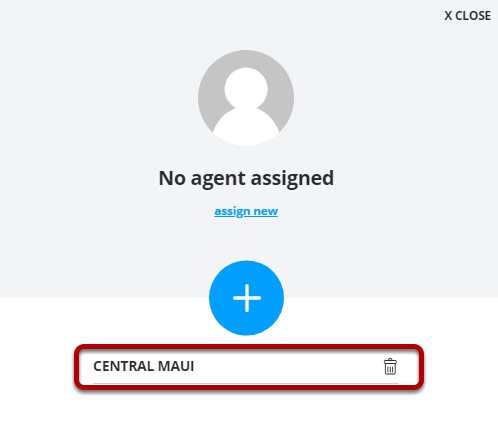
- Click the Green Save Circle to save your work.
This is all you need to know in order to apply a Social Site Lock CTA to an individual city page.
It’s also the process for applying any Engage CTA to any piece of content on your website.
So to summarize, in this article you learned how to:
- Create a Social Site Lock CTA using Engage CTA.
- Customize it based on how you’re going to be using it.
- Target it to the page (or pages) that you want the CTA to capture leads on.
If you enjoyed this, make sure to stay tuned because the next article I’m working on will show you how to create a ‘Trigger Link’ which will let you add a simple hashtag to ANY page of your site — INSTANTLY turning it into a lead capture page!
In the meantime, you can get a solid understanding of everything Engage CTA has to offer by checking out the complete ‘Engage CTA’ tutorial list.
